Updated March 25, 2022
Springtime has arrived, and if you’re lucky enough to have an outdoor space filled with a flowering landscape or room for a vegetable garden, it’s probably been calling to you all winter. So now that the temperatures are turning mild, the birds and bugs are returning, and spring rains and sunshine are on their way, it’s time to get growing again — and to add some beautiful indoor/outdoor activity to your Military home!
If you haven’t already selected or planted any seeds, now is the time to do so — or visit your local garden center for sprouting plants that are already well underway and ready to become showstoppers in your yard. Indoors, you can begin to cultivate tender seedlings that aren’t quite strong enough to be sown into your garden. Outdoors, you may see your familiar plantings coming up again. If they’re clumping, as hostas and lilies tend to do every few years, you will want to catch them early and begin dividing them so their roots have time to settle into the earth again. And, if you need to create a vegetable garden space from scratch, you’ll need to gather all of the supplies from a home improvement store or, perhaps, your favorite online gardening site.
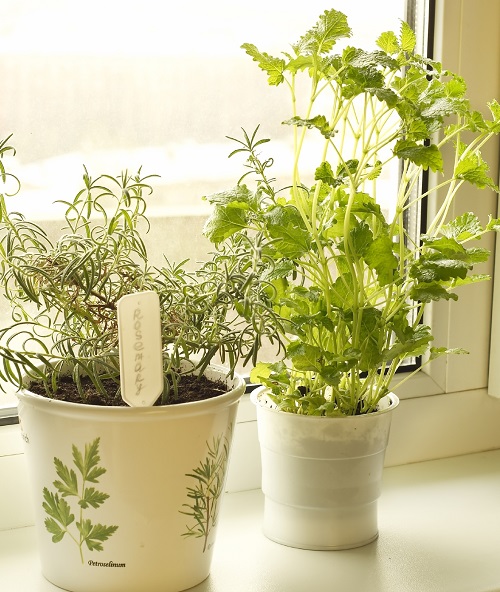
But what if you aren’t able to plant a permanent garden? Or, what if you don’t have an outdoor space that’s begging you to put new plantings in it? Try container gardening on your patio or balcony, or even a window sill where herbs and green onions (for example) will do well. If you want fresh, there are simple and easy ways for you to find a way to get it. And while you’re waiting for your seedlings to sprout, you can be plotting out the entire landscape of your garden — no matter how big or how small.

And there’s a lot more to your garden than just shades of green, of course. Keep in mind the height and colors of your selected plantings. Map out the best places for them — not just based on whether or not the location is sunny or shady, but how the colors will blend together and complement one another… when they will bloom and if they will bloom together or separately… and how long they will be in bloom. And if your garden is small, think about using plants that can be used in multiple ways, such as lavender which features not only beautiful fragrant buds that are striking in their surroundings, but can also be used in cooking — for instance, as an additive in shortbread cookies — or dried for use in aromatic sachets or bath salts.
Whatever you have in mind, we’ve got a few tips to get you and your kids motivated to create a home-grown garden of fragrant florals and vibrant veggies.
Starting Your Seeds
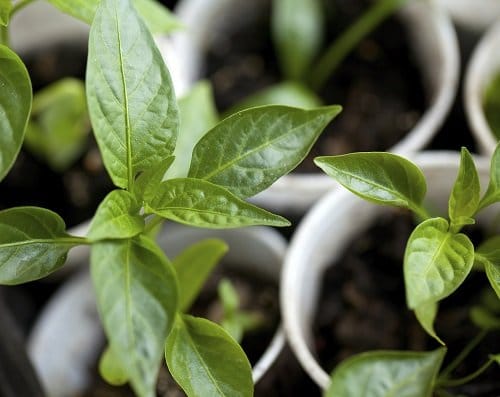
You can purchase ecologically friendly seedling starter kits at big box stores and your local garden center, or make them yourself out of mini milk cartons or rolled-up recycled newspaper. Just fill up your little pots with rich garden soil, drop in your seeds according to the package directions (or your own personal growing experience), water and put in a sunny spot, depending on how much your particular plant needs. Keep an eye on the moisture content and for little green sprouts. Once they begin to appear, let them gain their footing in the soil before taking them outdoors in your chosen location.

Dividing for Expansion
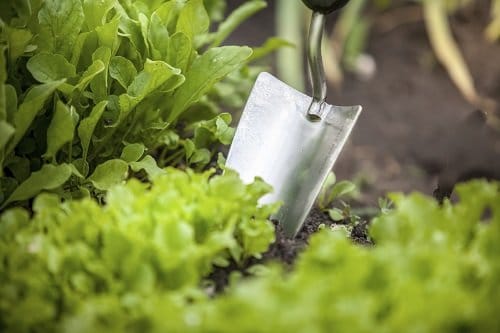
Plants such as hostas that grow in clumps will do much better if you divide them every two to three years. Not only will you create more plants to expand your garden’s color and layout, but the reduced plants will grow better for you. All it takes is a flat shovel and a little muscle. Simply dig up the entire plant, being cautious of how you treat the root ball. Next, chop the clump in half, and then in quarters, if necessary. Each individual hosta clump should contain at least two nodes. Replant each one quickly to let the roots settle into the ground again and give them time to grow and regenerate more nodes that fill your garden with shades of green again.

Cutting to Recreate
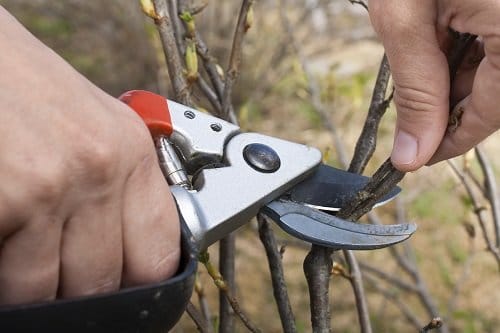
If you love hydrangeas, the good news is you can increase their presence in your garden by taking cuttings from a healthy plant and using them to create new ones. It’s a bit of a process, but you can find great instructions here. Essentially, the technique is to acquire an appropriate stem from your existing hydrangea plant. Cut off extraneous leaves, trim the cutting under a healthy leaf node, dip in a rooting element (optional), snip the leaf at the top and replant in a small pot. Water and set in the sun, then keep an eye on the plant… tugging at it every few weeks to see if new roots have taken hold. When the plant is strong enough, set it out in your garden.

The next best thing to do for all of your new plantings is to keep them protected from the elements, bugs and disease by adding a healthy layer of mulch, applying organic sprays that deter pests, surrounding them with netting to keep them safe from birds, squirrels and other outdoor animals, and making sure to trim excess leaves (especially from tomatoes if you want extra fruits).
And, by all means, make sure to get the kids involved. They will love putting their hands in the dirt, sprinkling seeds, pouring the water and watching nature take hold. Plants they will really love to see growing are carrots, onions, radishes and pumpkins. Although, we will warn you: the pumpkins take a lot of space, so choose a small variety and start early (May/June) if you want to see them full grown in time for Halloween.
Happy growing!
If you have more spring gardening tips you’d like to share, we’d love to hear them! Just post a comment below.
More Ways to Celebrate in Spring:


